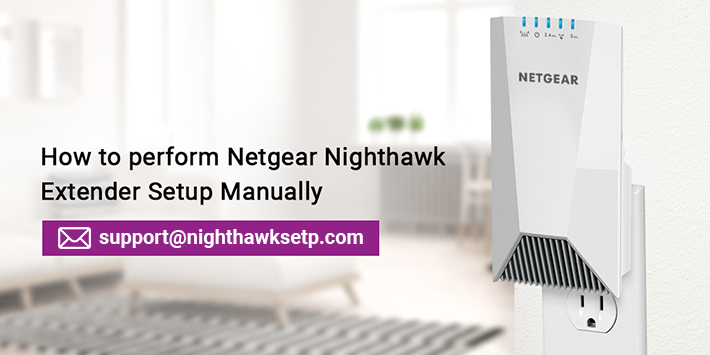
How to perform Netgear Nighthawk extender setup manually
WiFi range extenders are fantastic devices that improve the existing wireless network range to a great extent. Once you are done with the Netgear Nighthawk extender setup, you get fast and continuous internet access throughout the home.
If you are too new to the installation and configuration process of Netgear WiFi extender, then look no further than our how-to tutorial. This particular post will make you well-versed in the field of Netgear WiFi extender setup. It is recommended to bookmark this article so that you can easily take help whenever you face any issue during the Netgear Nighthawk setup process. Keep scrolling down.
New Extender Setup: Advantages
Prior to getting started with the Netgear extender setup, let’s have a look at the advantages you will get.
A Netgear WiFi range extender is also known as a wireless repeater, range expander, or signal booster that is used to enhance the range of wireless local area network (LAN). It connects to the router in a remote manner, receives the signal, and broadcasts it again.
Following are the advantages of the new Netgear WiFi extender setup:
- Helps you improve the existing WiFi signals and coverage.
- Keeps your wired or wireless devices such as media players, smartphones, laptops, and computers associated with a secure and reliable internet connection.
- Works with any standard WiFi router.
- Extends the current internet range and coverage to every nook and cranny corner of your house and office with good performance.
- Offers you a fast and uninterrupted internet speed and network for your smartphones, tablets, desktops, laptops, and other wired and wireless devices.
Netgear wireless repeaters are very easy to install and provide you a complete internet range throughout your home or office. Best, if you place it halfway between the blind spot and the existing WiFi router. The data transfer as well as signal quality will be transferred to dead zones in a jiffy. Therefore, for improving the extender’s performance, you should check the electrical socket that it is transmitting proper power supply or not. That’s how you can broaden the range of your home or office network with the Netgear Nighthawk setup.
Netgear Nighthawk Setup: Manual Steps
Walk through the easy steps given below to set up your device without any hassle (if your range extender has an Ethernet port):
- First and foremost, unbox your Netgear WiFi extender.
- Plug it into a wall socket. Turn the extender on.
- Take an Ethernet cable and connect your Netgear device to a computer or laptop.
- Log in to the Netgear web user interface using mywifiext web address.
- Enter the default login details into the required fields.
- As soon as you are on the mywifiext.net login page, go to wireless settings.
- You can also change the settings as per your needs.
- Click on the “apply” once done.
- Connect your WiFi-enabled devices to the Netgear WiFi range extender prior to clicking on “continue”.
Your range extender doesn’t have an Ethernet port? Don’t panic. Just follow the steps given below:
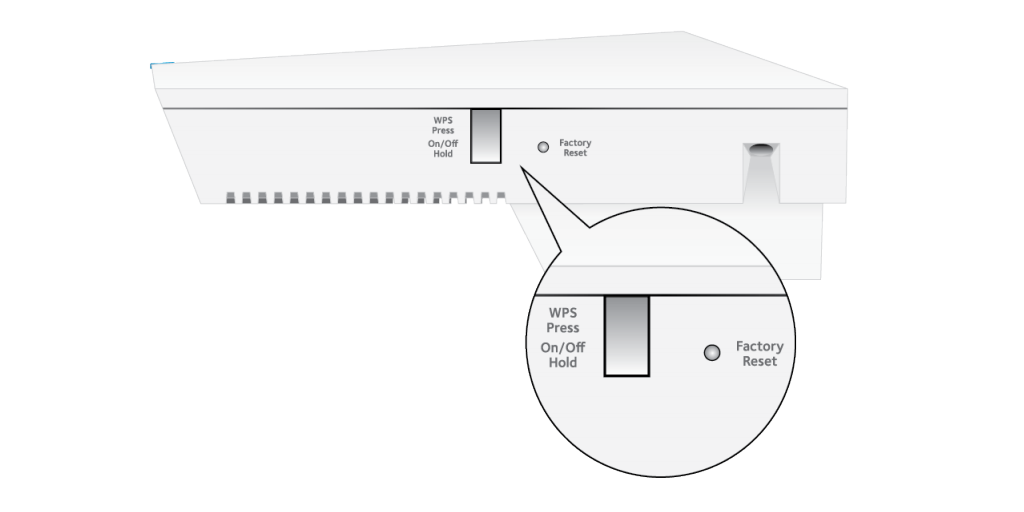
- Push the reset button on your device with the help of a paper clip or pin.
- Hold it for a few seconds and release it after that.
- Connect the extender to the available WiFi network.
- Use the default login credentials to access mywifiext.net.
- Go through the provided on-screen instructions.
- Reconnect your devices to the Netgear wireless range extender.
Thus, one can manually set up their Netgear range extender. If you still have any doubts regarding how to set up your device, then feel free to contact our technical department.
Tags: Netgear Nighthawk setup, Netgear WiFi extender setup