Netgear Genie Setup: Install Extender Easily
Netgear Network Routers are increasingly popular in this day and age, because of the quality of networking technology. And also the different important features that you can get from these devices. One of the most useful of such features is the Netgear Genie. It is a control center for your Netgear devices, right from your computer screen. But since Netgear routers have numerous features, controlling all of them can be rather complicated. So, to be able to use this powerful software the right way. In this page, you’ll find a step by step guide for Netgear Genie Setup. It is not a very complicated process at all.
Configuring your Netgear router will allow you to use your router with your existing Internet Service Provider (ISP), and can even help resolve problems associated with network connectivity. Most ISPs don’t require you to configure your Netgear router unless you’re using the router with a cable or DSL Internet connection.
You’ll be able to do it all by yourself with proper instructions, which you’ll get here on this particular page. But more than that, you’ll also have an idea about the necessity of a proper Netgear Genie Smart Setup.
In case at any step of installation instructions, you experience any issue or the setup process doesn’t work, get in touch with our experts. They will help you make your device working in no time.
The Importance of Netgear Genie Setup
Netgear routers are pretty advanced devices and they provide a lot of cool features. Thus, giving you interruption-free and secure WiFi signals for however many devices you want it to.
These are not only popular for use at the homes of people but also in offices. Although, there are range limitations with Netgear routers just like any other. But with Netgear WiFi range extenders, you’ll be able to counter that limitation easily.
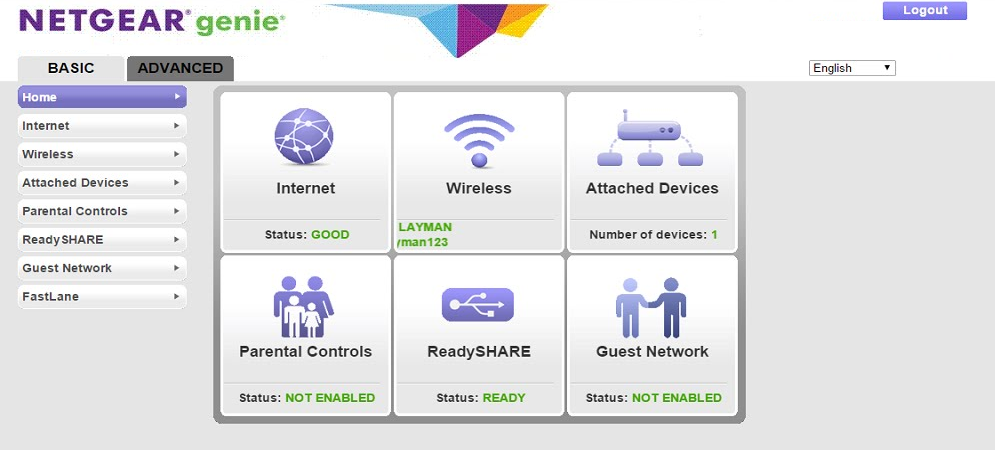
The best part is that you’ll be able to control and configure all these powerful devices right from your computer. That’s where Netgear Genie comes in, a powerful software interface that will let your control over the Netgear devices. Bringing all those complex processes in one place.
For your router, you’ll have to put in the correct settings through the Netgear Genie. That way, there will be fewer complications if any during usage. That is the same case for the other Netgear devices which you may use.
The Netgear network routing devices like the routers, the WiFi repeaters, and the range extenders are very powerful and complex. To make them work together without failure is quite difficult. This is what Netgear Genie will allow you to do in an easy way. So, to utilize the benefits of it, you need to know Netgear Genie Setup.
You’ll be able to monitor the performance of those devices, with critical information like signal strength status, range, etc. This is mainly an example of routers. However, you’ll get the same degree of control for the other devices as well.
There is this feature called Smart Wizard which makes the setup processes much easier. Like if you want to set your router for cable connection. We have covered all of that in the following section.
Step By Step Netgear Genie Setup Process
The process we have listed here is how you can configure your Netgear network router using the Netgear Setup Genie. You’ll see how the Smart Setup Wizard makes this process simpler.
- Power off your modem and Netgear extender.
- Use an ethernet cable to connect your modem to the port labeled “Internet” on your Netgear extender.
- Power on your Netgear router and wait for the “Power” light to remain solid green.
- Launch an Internet browser on your computer and type one of the following URLs into the address bar: www.routerlogin.com, www.routerlogin.net, or http://192.168.1.1. The correct URL will bring up the router login dialog box.
- Examine the label on your Netgear extender to determine the correct URL if none of these URLs bring up the extender login dialog box.
- Log in to your extender interface using a default username and password. The Netgear Genie setup wizard will display on-screen.
- If “Netgear Smart Wizard” displays on-screen in place of “Netgear Genie,” go to the second method mentioned in this page to complete the extender setup process using the Smart Wizard interface. The Smart Wizard interface is only available on older models of Netgear extenders.
- Click on the “Advanced” tab, then click on “Setup Wizard” in the left sidebar.
- Select “Yes” when asked if you want Netgear to detect your Internet connection, then click on “Next.” The setup wizard will take a few minutes to detect your Internet connection and display the “Congratulations” page when complete.
- Click on “Take me to the Internet” to verify your Internet connection is working. Your Netgear extender will now be configured for use with your ISP.
- In case you are still not able to set up your extender or facing any issue, just reach out to our technical experts. They will assist you in all possible ways.
Now you have completed the Netgear Genie Setup process and you are good to use your internet connection from here onwards.