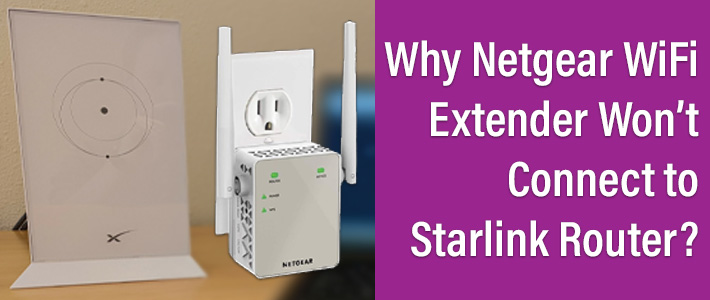
Why Netgear WiFi Extender Won’t Connect to Starlink Router?
Netgear WiFi extenders are universal extenders. That implies you can use these extenders with any WiFi router. This is however noticed that users find it a trouble connecting Netgear wireless extenders with some router brands. For instance, a user lately reported saying the WiFi extender can’t connect to Starlink router.
This post will guide you through the troubleshooting process. Apply the solutions and get your Netgear extender configured with Starlink WiFi router with ease.
Netgear Extender Can’t Connect to Starlink Router: Resolved
We want you to know that it is not a brand specific issue. Netgear WiFi extenders work pretty well with Starlink routers. If you’re having difficulty making the two devices work with each other then there’s some other obstruction that you should get rid of.For example if the devices are not booted up completely due to fluctuations in electricity supply, the WiFi extender won’t connect to Starlink router. Therefore, check the power connection as the first thing. Use alternative sockets to plug in the devices or use a UPS to ensure consistent electricity.
Listed ahead are the other fixes that you should apply now:
Fix 1: Mend the Connection
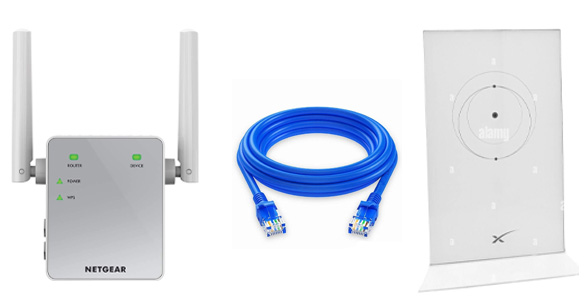
The router serves as an internet source for the extender. The extender connects to the router to get its input signals. There are two approaches through which a Netgear extender connects to a Starlink router.
Wireless Connection
- The LAN cable that you’ve used to make the connection should not be worn out.
- If required, use another cable to form the connection between the two devices.
- Check that the ports into which the LAN cable is inserted are clean and the right ones. Use a soft brush to clean them and reinsert the cable.
- The connection has to be finger-tight.
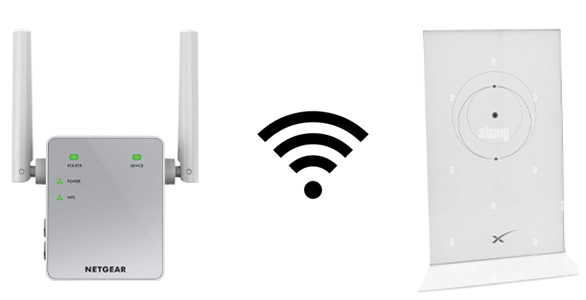
Wired Connection
- Placing the extender in the range of the host router is essential such that it receives the input signals easily.
- Avoid having other electronic devices or home appliances nearby that can interfere with the signals thereby affecting the connection.
- Try maintaining a direct line of sight between the extender and router.
Fix 2: Try Power Cycling the Network
Your network connection might be in need of a new start. If you keep on using your technical devices without giving them some rest, they begin behaving unusually. You should now give them some rest by power cycling the network. Any pending updates and halted connections get a push this way. Thus, power off the devices now, including your Netgear extender, Starlink router and PC that you’re using to set up the extender. Unplug them from the respective sockets. Remove the LAN cables from the devices.
After waiting for approximately 5 to 10 minutes, reinsert all the cables first. Plug in the power cables in this sequence, router > extender > PC and switch them on. Connect your PC to the extender’s network and use mywifiext.net to log in and carry out the extender setup.
Fix 3: Update Starlink Router
If you haven’t updated your Starlink router then getting it connected to the WiFi extender can be a bit tricky. Check firmware updates for the router now and update it with the latest firmware version to rule out this possibility in all manners. Once the router has the most recent firmware version running on it, performing the Netgear Nighthawk extender setup is going to be a piece of cake for you.
Fix 4: Reset Netgear WiFi Extender
By chance, the WiFi extender can’t connect to Starlink router even after all this then reset the extender to the default settings. The extender must run on the default factory values during the initial configuration. Reset it with the aid of the Reset button located inside a hole on the extender.
- You need to first remove all the connections from the extender except the power cable.
- The extender must be powered on properly while you’re resetting it. Confirm this now.
- Push the Reset button by taking the help of a pointed object that can reach the button.
- Hold the button until the extender blinks.
- The reset process may take some time. Patiently wait for it to power off and boot up again.
The moment it is booted up, make its LAN connection with the Starlink router and join its network on the PC. You can now use the web UI on a browser or the Netgear Nighthawk app to perform extender setup.
Conclusion
Netgear wireless extender needs to be connected to the host router so that it can extend the router’s network. Many users face issues while they try to connect a WiFi extender to the root router. This guide should help you if your Netgear wireless extender can’t connect to Starlink router. Once you’re done making the connection and setting up the extender, you can begin connecting to your extender’s WiFi without any hassle.
Tags: Connect to Starlink router, Netgear Nighthawk app, Netgear Nighthawk extender setup