How to Extend the Existing WiFi Range in Your Home
With the continuous introduction of the latest wireless devices in the market, the need for high-speed WiFi connection throughout the home is necessary. As a matter of fact, many families use a WiFi router to get a consistent internet connection for their wireless and wired devices. Some users upgrade to more reliable and powerful, state-of-the-art wireless routers that have all the current bells and whistles. While these latest, top-of-the-line wireless routers improve speed, they might not be able to extend the existing WiFi range to deliver the whole-home coverage.
That’s where, WiFi extenders come in. Netgear WiFi range extenders are able to provide you with whole-home WiFi coverage.
Let’s have a look at ways to extend the existing WiFi range throughout your home or office.
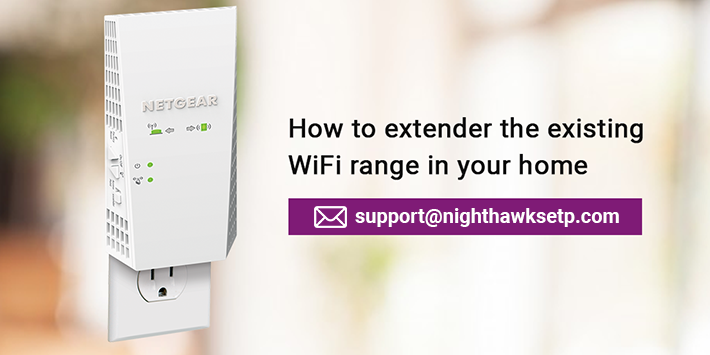
Install a Netgear Nighthawk WiFi Extender
One simple way to attain complete WiFi coverage throughout your home is to install a Netgear Nighthawk WiFi extender. An up-to-date version of Netgear WiFi range extender increases the existing internet coverage by connecting to your existing WiFi router and creating a separate home network that has its own SSID (network name) and security credentials (password).
So, to roam around freely in your house, you must connect the range extender with your WiFi router properly. After that, you have to launch an internet browser, then type mywifiext into the address bar and follow the on-screen instructions given on Netgear Genie setup page. That’s it.
But if you are facing connectivity issues, then apply the below-mentioned easy-to-execute tips and tricks:
- Upgrade your existing WiFi router to the latest firmware version.
- If your range extender needs an update, update it too with the latest firmware version.
- During Netgear Nighthawk extender setup, make sure that your Netgear WiFi extender is receiving a live internet connection from your main router. Moreover, make sure that your range extender is plugged in near to your Netgear WiFi router. Also, ensure that your router is placed openly in an airy room.
- If you are facing mywifiext not working issues, then make sure that your computer or laptop is connected properly via an Ethernet cable.
- Make sure that your router and range extender are getting constant power supply.
Still, if you are facing any type of issue during Netgear Nighthawk setup, then without any delay, contact our technical department.
Install A Netgear WiFi Router
Conversely, some users wish to install an additional router to extend the existing WiFi range. For this, you have to connect your existing modem to the internet port of the Netgear WiFi router and your computer or laptop to any of the 4 (four) LAN ports.
- Switch your computer/laptop, WiFi router, and the broadband/cable modem off and on again after 2 minutes. Wait for them to finish booting up.
- Open a web browser.
- Type your router’s IP address in the address bar and press Enter.
- Now, you will be prompted to log into your Netgear wireless router.
- Enter the default username and password. If you have changed them previously, then use them. And in case you have forgotten the login credentials, then reset your Netgear router back to factory default settings.
- Choose the “Setup Wizard” option.
- The “Setup Wizard” screen will now be displayed.
- Here, you have to click on “Yes” and then on the “Next” button.
- Finally, click on the “Next” button to save the settings.
Once you have successfully installed your Netgear WiFi router, you can configure it with your range extender to enjoy the 20x faster internet speed all over the house.