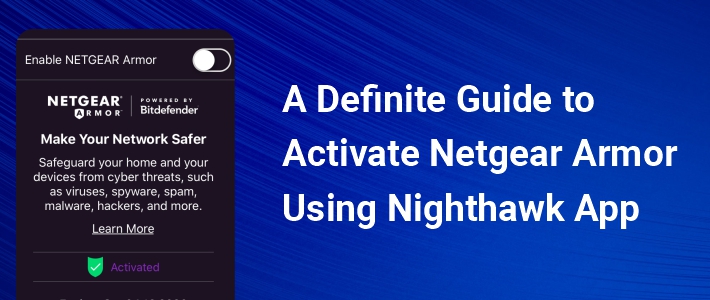
A Definite Guide to Activate Netgear Armor Using Nighthawk App

If you are in a dire need to safeguard your extender’s network from potential threats, you should consider activating Netgear Armor. Netgear Armor is an advanced multi-layer cybersecurity solution that secures not only your network but connected devices as well. It protects your devices from viruses, spam, hackers, and phishing.
In this post, we have talked about the topmost features that Armor offers along with the instructions to activate it using the Nighthawk app. So, stick to reading!
Top 10 Features of Netgear Armor
- Network Vulnerability Assessment: It scans as well as identifies network flaws in order to deliver a weekly security report.
- End-Point Device Protection: Safeguards all your devices including, mobile phones and computers connected to your wireless network locally and remotely.
- Automatic Security Updates: Another amazing feature of Netgear Armor is that it sends real-time updates and alerts for events on your WiFi network.
- Device Detection and Management: Allows you to manage and block devices that try to connect to your wireless network without your consent.
- Protection Level: Ranks the security of your home network as well as the devices that are connected to it. Security tips and suggestions are also displayed depending on your protection level score.
- Threats Blocked: As mentioned above, it blocks viruses, spyware, ransomware, and other online threats from reaching your network.
- Anti-Theft Protection: It tracks the location of your devices. For instance, if your device is lost or stolen, you can remotely wipe off its data.
- Instant Alerts: Notifies you when a threat is detected
- Web Protection: Blocks your access to potentially harmful websites.
- Bitdefender VPN: Encrypts your internet connection in order to keep your online activities and data private.
Now that you are well acquainted with the features of Netgear Armor, let’s get down to the step-by-step instructions to activate it on your extender using the Nighthawk app.
How to Activate Netgear Armor Using Nighthawk App?
First of all, make sure that your Netgear wireless range extender is receiving an uninterrupted power supply from the electrical outlet. Once assured, follow the steps mentioned below:
- Connect your Netgear range extender to the existing router using a wired or wireless source.
Note: If you decide to use a cable to connect your wireless devices, make sure that it is not worn out or damaged from anywhere. - Unlock your mobile device.
- Download the Netgear Nighthawk app from the Google Play Store or App Store.
Note: Go to the Google Play Store if you are using an Android and go to the App Store if you using an iOS device. - Log in to your Netgear range extender using the default username and password. In case you are not sure regarding the default login credentials of your device, refer to the user manual. Or even better, contact our well-versed experts.
- Tap Log In.
- Once the Netgear wireless extender setup wizard appears, go to Security.
- The Netgear Armor page will come into view.
- Tap Activate.
- It might take around 30 seconds to 1 minute for the feature to thoroughly get activated.
With that, you will successfully be able to activate Netgear Armor using the Nighthawk app in a hassle-free manner.
Note: If you also want to activate Armor on your router, it is recommended that you login to Nighthawk router, and follow the same steps mentioned above.
Sum Up
Activating Netgear Armor is a great option to consider if you want to enhance the security of your wireless range extender. We hope that the aforementioned steps will be able to help you enable Armor using the Nighthawk app. In case they don’t, then don’t think twice before getting in touch with our technical experts. They are available 24/7 to answer your queries.
Tags: netgear armor, Netgear Nighthawk app