How to Install and Configure WiFi Router Using Netgear Router App
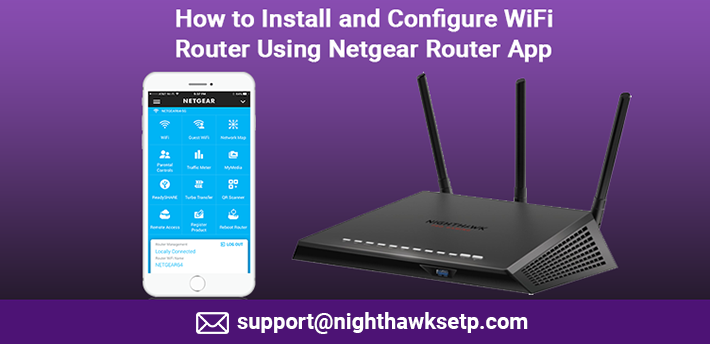
Mobile applications have taken the digital world by storm. Basically, they have unlocked a new era of user-friendliness and configurability while handling and interacting with technology. One such app is Netgear Router App that is specially intended to quickly install your Nighthawk WiFi router and manage your WiFi from anywhere, anytime.
Propelling the boundaries of WiFi, the Nighthawk app enables you to do more with your WiFi by controlling your router on the go. From installing your Netgear WiFi router, updating the firmware, enabling the remote access to set limits on your children’s internet usage, this Netgear app has got you covered.
The app is regularly used by trillions of users across the globe. It is available to download for both Android and iOS. Let’s get to know how the router app by Netgear works for you.
How to Install My Router Using Netgear Router App
Go through the steps mentioned below to install your router and connect to the internet using this awesome application:
- Remove the antenna caps of your router and attach the antennas properly.
- Connect your router to the existing modem.
- After that, power on your Netgear WiFi router.
- Let the power LED of your router glow.
- Now, go to Play Store or App Store and download the Netgear Nighthawk app on your device.
- On your device, navigate to the Settings > WiFi section and connect your router network.
- Note down the network name (SSID) and passphrase of your router.
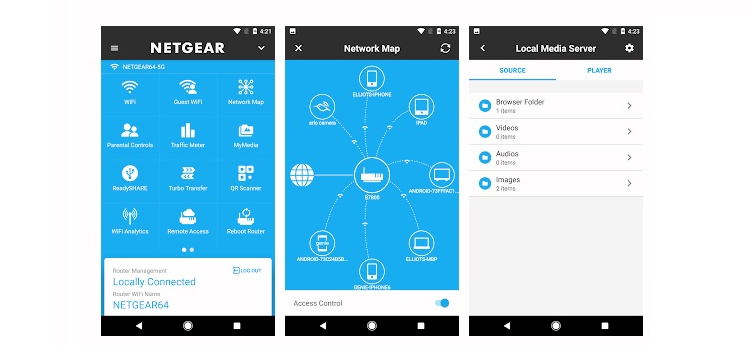
- Next, launch the Nighthawk app.
- Follow the prompts given on the screen and set up your router with ease.
Voila! Your Netgear router has been set up and you are connected to the internet.
Important Note – You can also use router’s default login web address routerlogin.net or routerlogin.com to install your Netgear Nighthawk router.
How to Update the Netgear Router Firmware Using Nighthawk Application
It is a snap to use the Nighthawk app for the Netgear router firmware update. Here are the do-follow steps:
- First of all, connect your mobile device to the Netgear router’s network.
- Launch the Netgear router app on it.
- Enter your router’s admin details i.e. username and password.
- Followed by it, click on the Log In button.
- Doing so will take you to the dashboard screen.
- Click on the menu at the top-left side of the screen.
- There will be a button that says ‘check for updates’. Simply click on it.
- In case you see a new firmware update is available, walk through the on-screen prompts and complete the process.
This way, you can update the firmware version on your Netgear WiFi router using this mind-blowing app.
How to Change My Network Name and Password Using This App
Execute the below-given instructions to change your SSID and password:
- Firstly, make sure that your mobile device is connected to a WiFi network.
- Open the Nighthawk app.
- Now, log in to your router using the username and passphrase you set up for the very first time.
- Click on the sign in button on the bottom side.
- You will be accompanied by a dashboard screen.
- From here, click on the WiFi option.
- Type the new SSID in the network name field and new password in the network key field.
- Finally, click on the save button.
Congrats! The settings have been successfully made.
With this Netgear router app, you can even activate Netgear Armor on your device. It provides you advanced cyber threat protection for your home as well as your devices.
That’s all about the Netgear Nighthawk app. For more updates, stay tuned with us!
Tags: Netgear Nighthawk app, Netgear router app