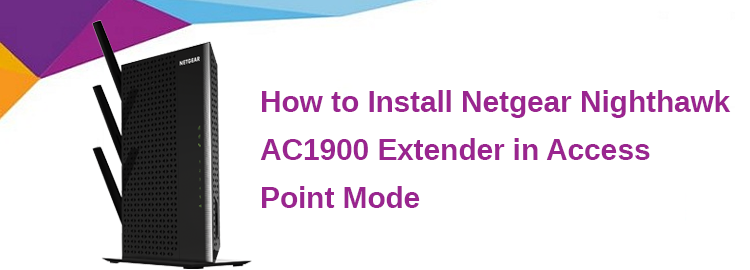
How to Install Netgear Nighthawk AC1900 Extender in Access Point Mode

Netgear Nighthawk AC1900 WiFi range extender boosts your existing network range and delivers the dual-band WiFi up to 1900Mbps (Megabits per Second). In addition, its 700mW high-powered amplifiers provide extreme WiFi range, whereas its dual-core 800MHz (megahertz) processor offers the highest WiFi performance.
It is perfect for HD video streaming & gaming and works with any WiFi router. So, perform the Netgear Nighthawk AC1900 setup process and get the whole-home connectivity you need for your iPads, smartphones, laptops, computers & more.
In this article, we will guide you on how to configure Netgear Nighthawk AC1900 WiFi range extender in the access point (AP) mode. Let’s get started.
Install Netgear Nighthawk AC1900 extender as an AP
- Plug your Netgear WiFi extender near to your WiFi router. Make sure that the router you are using is up-to-date with the latest firmware version.
- Turn on your range extender by pushing the power button on it.
- Using an Ethernet cable, connect your existing WiFi router and Netgear WiFi range extender with each other.
- Now, take a computer or laptop, load up an internet browser, and type mywifiext.net in its address bar.
- Click on the New Extender Setup button.
- Create an account and hit Next.
- Click on the Access Point option and Netgear Nighthawk extender will verify your internet connection.
- Now, enter your existing WiFi router’s username and password.
- Click on the Next option. Wait for your extender to apply the network settings.
- Hit Continue. Now, you will see the Netgear extender’s network settings.
- Click on the Next button.
- Your Netgear WiFi range extender will be configured in Access Point (AP) mode.
In case you have forgotten the login credentials of your Nighthawk extender, you need to reset your extender. A factory reset will delete all the personalized login credentials (username and password), network name (SSID), and the security settings. So, make sure to take a backup of all the personalized settings prior to reset your extender.
Reset Nighthawk AC1900 WiFi extender
- First of all, verify that your Netgear WiFi extender’s power LED is stable.
- After that, you have to locate the reset hole on your Netgear WiFi range extender.
Note: Prior to resetting your Netgear extender, make sure that all the connected devices with it are disconnected. Your range extender should only be plugged into a wall outlet.
- Now, use a pin or paper clip and insert it carefully into the reset hole of your Netgear WiFi extender.
- Press the reset hole.
Congrats! Your Netgear Nighthawk AC1900 resets successfully.
If you are still facing issues while setting up or resetting your Netgear AC1900 WiFi range extender, then reach out to our technicians via chat or email.
Tags: Netgear Nighthawk AC1900 Setup