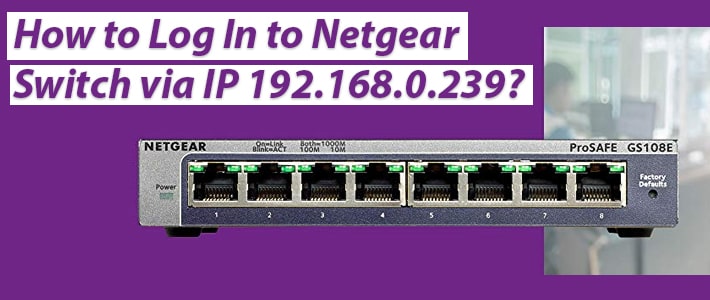
How to Log In to Netgear Switch via IP 192.168.0.239?

You can log in to your Netgear Web Managed Plus switch using the IP address. In case the switch isn’t connected to any network then you can use the default IP address 192.168.0.239 to log in. The same IP can be used if the switch is connected to a network with no DHCP server or if it’s directly connected to the PC.
However, if the switch is connected to a network with a DHCP server, then you’ll need to find the IP address first. The best way to get the IP address is to use the ProSafe Plus Utility. In case you can’t use this option then you shoulduse other ways to get the IP.
Let us tell you how to log in to the Netgear Web Managed switch using the default IP or the assigned IP. Keep on reading ahead to know the exact steps for the same.
Netgear Switch Login via 192.168.0.239 IP
1st Step: Determine the IP Assigned to Switch
The very first step is to find the IP address assigned to the Netgear switch. You can determine the IP address of your switch using the Netgear Switch Discovery tool (NSDT). Use these steps:
Use Netgear Switch Discovery Tool to Find IP
- Launch the Netgear Switch Discovery tool. If you haven’t downloaded it yet then download it first.
- As soon as the file downloads, unzip the file.
- Next, run the NSDT app.
- Choose the connection from the Choose a connection menu. You ought to select the same network that your switch is connected to.
- Click the Start Searching button next.
- You will see a list of discovered switches.
- Get the IP address from here and use it to log in to your switch.

If you cannot use NSDT, then you have other ways to find the switch’s IP. As discussed above, if the switch isn’t connected to a network or if it’s directly connected to PC or if it is connected to the network with no DHCP server then use the default IP address which is 192.168.0.239.
If you have your switch connected to a network with a DHCP server, then get the IP assigned to it from the list of IPs on a DHCP server.
If your switch is connected to a WiFi router then log in to your router and go to its admin panel. Here you’ll get the IP address assigned to the Netgear Web Managed switch. You can find the IP address that’s assigned to the MAC address of the switch. Ifyou are wondering what’s the MAC address of your switch then let us tell you that you will get it on the label on the switch.
After you have got the information on the IP assigned to the Netgear switch, you can go ahead and log in to the switch using the steps given ahead.
2nd Step: Log in to the Switch
To log in and reach the admin panel of your Netgear switch, put to use the steps given below:
- Power up your PC and connect it to the network.
- Run an internet browser that’s running on the most recent version.
- Insert the IP address in the address field of the browser. If it’s the default IP address then type 192.168.0.239 in the address bar. Make certain that you aren’t making any typing mistakes.
- Hit Enter.
- On the login page that displays, key in the admin password of the Netgear switch.
- Click Login.
You’re now logged in to your Netgear switch using the default IP 192.168.0.239 or the IP that’s assigned to your switch. You are now free to make changes to its settings the way you desire. You can also update the firmware on your switch to the latest version fromthe same place. We suggest you check for firmware updates and update the witch if there’s an update pending.
Let’s Wrap it Up
If you want to make any changes to the settings of your Netgearswitch then you need to log in to the switch using the IP address.You can use the default IP 192.168.0.239 to log in. Or if there’s an alternative IP assigned to your switch then find it using the tips given in this blog post and use that to log in. We are sure you have logged in to your Netgear switch and are able to customize its settings.
Tags: 192.168.0.239, Netgear Switch login